
Dressmaker Wiki · Materials · Build 410
Accessory Placement
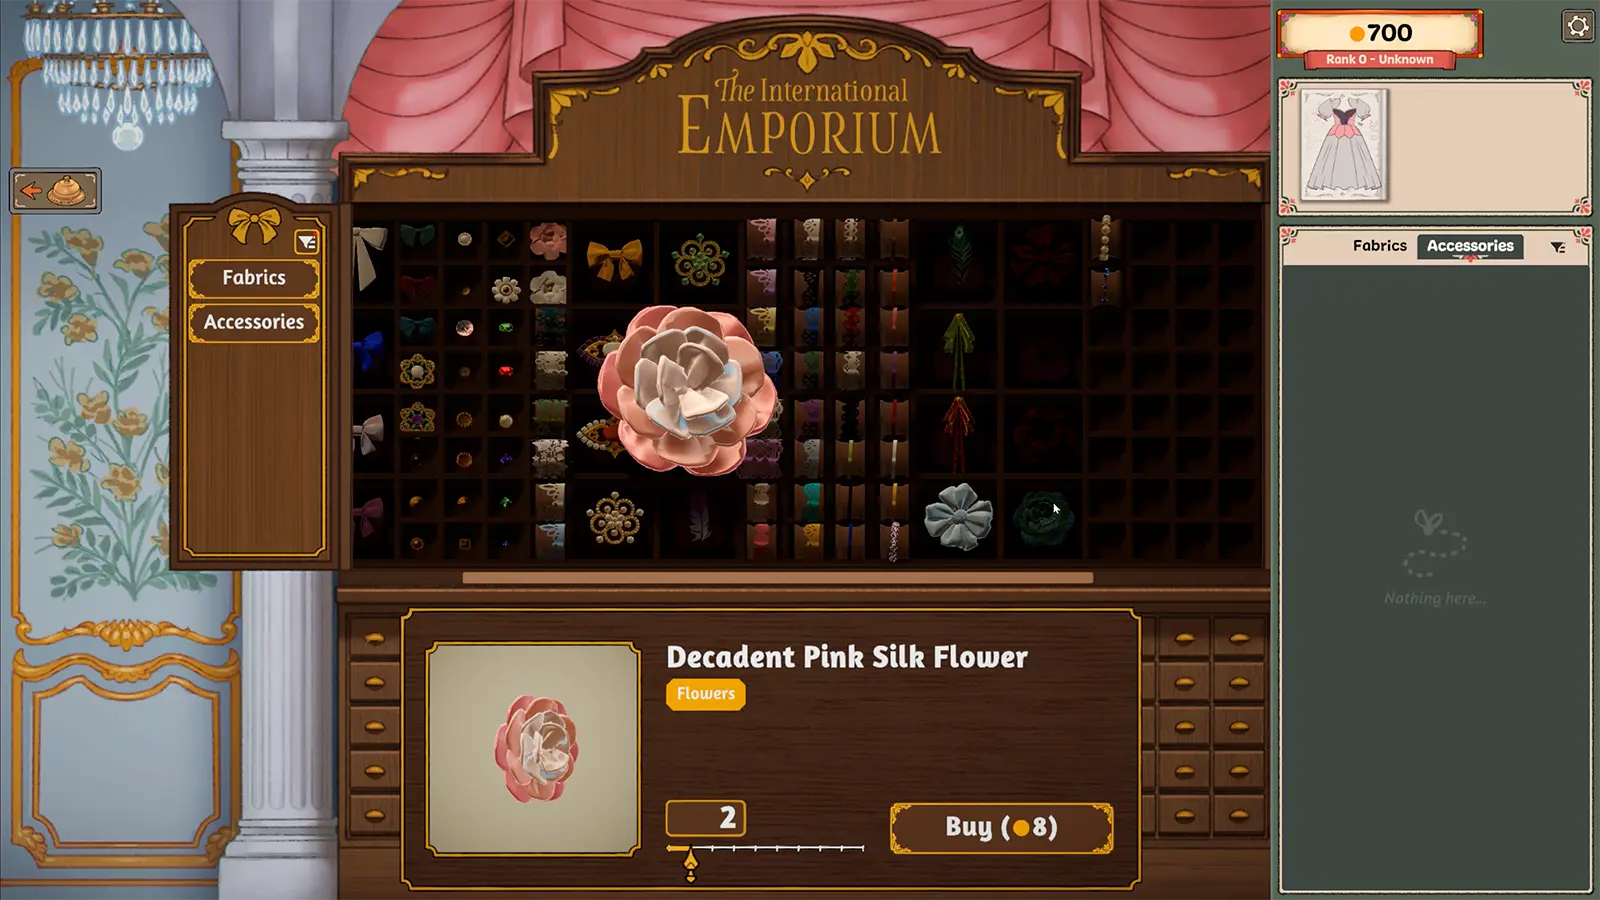
Accessories can add required tags, event-appropriate detail, or personal style. Placement, scale, and layer order determine whether they help the design or hide it.
Short answer. Place required accessories first at a readable size, check the tag targets, then use optional decoration to balance the silhouette instead of covering the garment evenly.
01 / Player workflow
How it works and what to do
Buy accessories in the shop, move them onto the mannequin, and scale or rotate them with the placement controls. Hold Shift while placing to keep adding the same item.
02 / Requirements
Before you start
- 01
Complete enough of the garment for the target area to be visible.
- 02
Buy the number of accessories the brief needs.
- 03
Zoom and rotate the mannequin when placing details around seams or cuffs.
03 / Core facts
At a glance
- Official content scale
- Over 350 accessories
- Major families
- Bows, flowers, lace, trims, applique
- Placement controls
- Move, rotate, scale, remove
- Common shortcut
- Hold Shift for repeated placement
04 / Field notes
Details that change the route
A large emblem reads as one deliberate feature; the same accessory repeated at random can make the silhouette noisy.
Community players report hiding unwanted requirement pieces low in a full skirt. This is a workaround, not an official scoring rule.
Requirement lines can count a specific accessory type, such as Brooch, rather than the broad accessories total. Check the item type before buying several copies.
Lace Trim and Trim are measured separately, so one category does not fill the other.
Check both front and back views before completing the dress.
05 / Continue
Related entities and guides
Fabric Shop
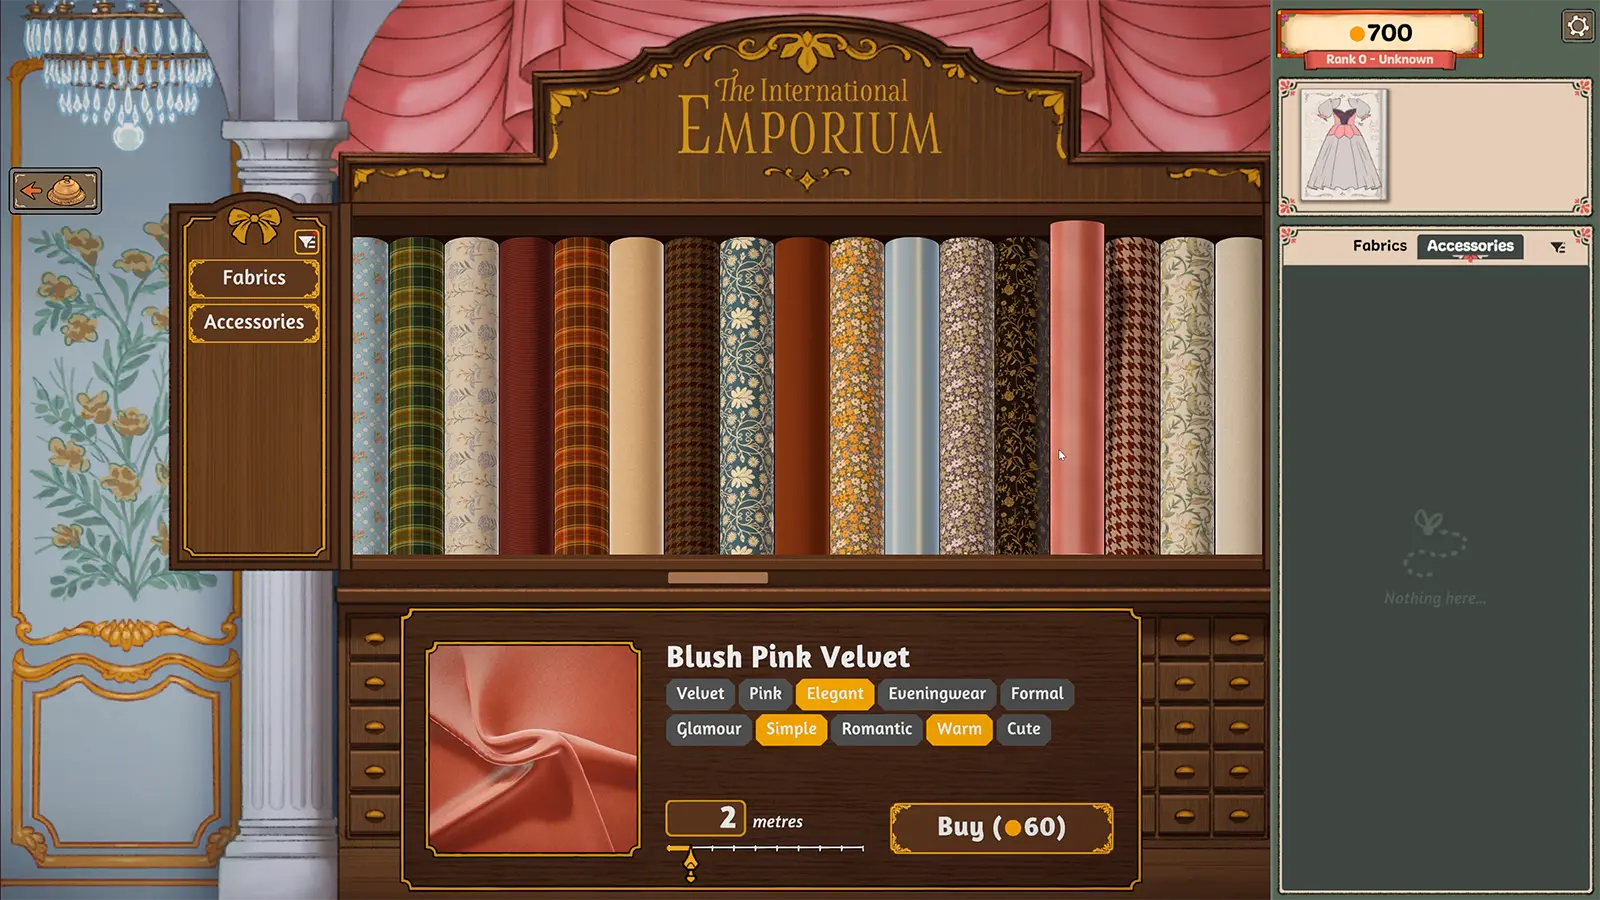
Fabrics carry visible style tags, prices, and visual finishes. The shop is a scoring and budget decision, not just a color palette.
Open player answer ->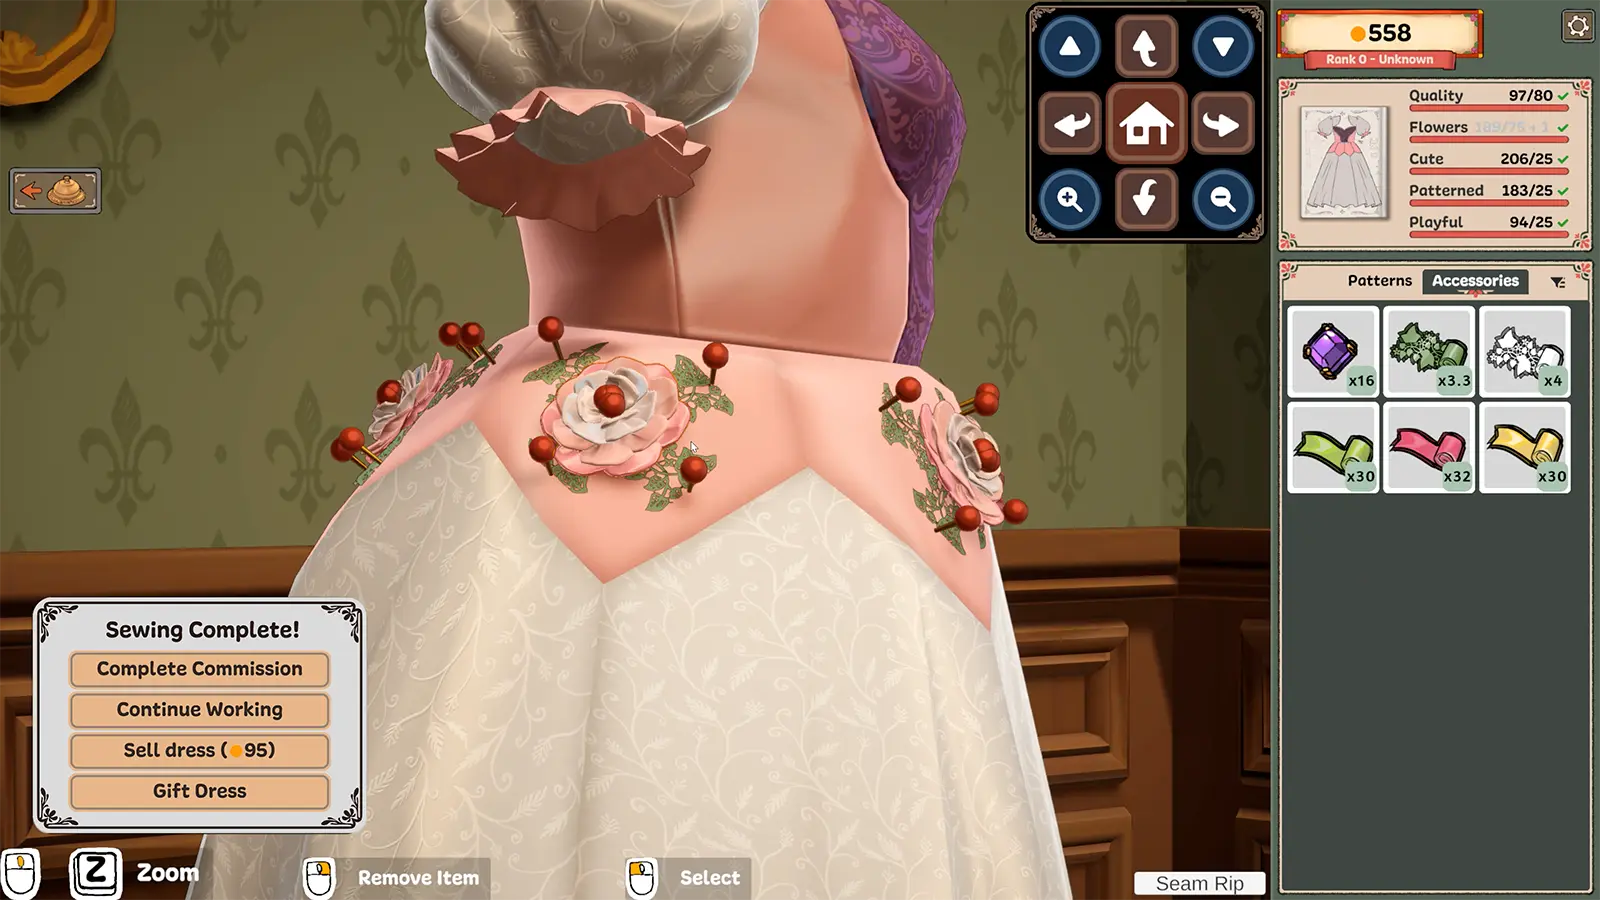
Quality Score
Quality is a scored requirement shown beside the style tags. Style tags prove the requested aesthetic; quality tracks how cleanly the garment was built.
Open player answer ->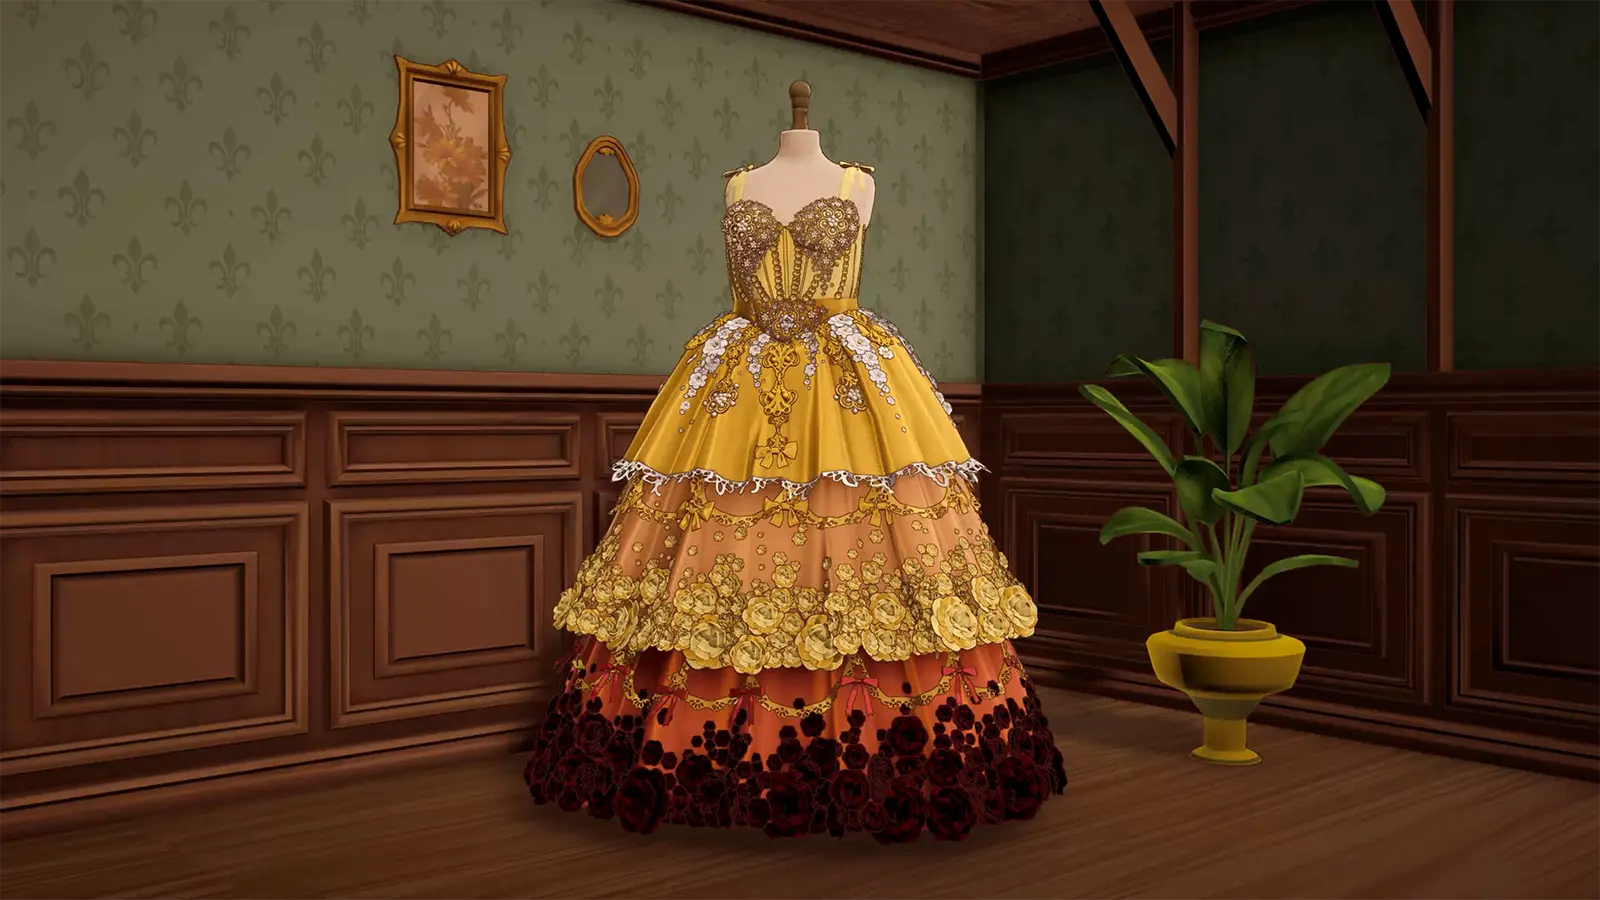
Advanced Event Dresses
High-detail event dresses demand more material, decoration, and planning. The goal is not maximum ornament everywhere, but deliberate coverage of every request.
Open player answer ->