
Dressmaker Wiki · Workflow · Build 410
Cutting Room
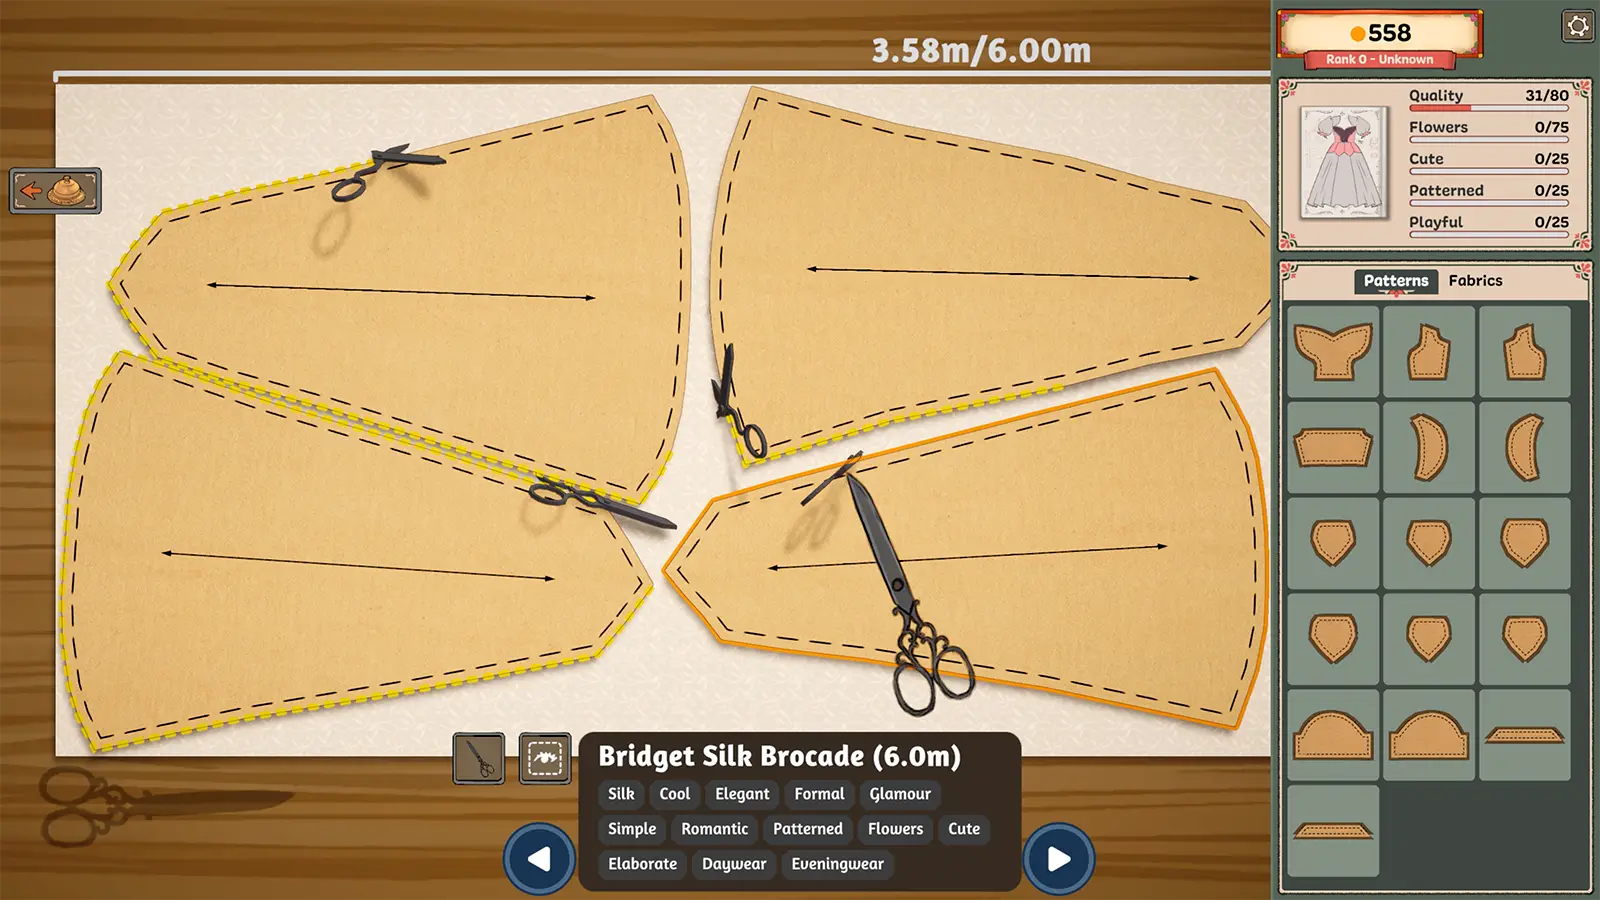
The cutting room turns a drafted pattern into fabric panels. Placement and grain direction affect the final dress, so cutting is more than tracing the shortest layout.
Short answer. Rotate and arrange every required panel inside the available fabric, watch the length meter, align the pattern arrows with the intended grain, and only then cut.
01 / Player workflow
How it works and what to do
After drafting a pattern, choose a fabric roll and move the paper pieces onto the cloth. Yellow and orange outlines show selected pieces and placement boundaries.
02 / Requirements
Before you start
- 01
Draft the pattern in the sketchbook.
- 02
Buy or reserve enough fabric for the listed pattern length.
- 03
Check every panel is present before cutting.
03 / Core facts
At a glance
- Main constraint
- Available fabric length
- Placement tool
- Rotate and move pattern pieces
- Fabric direction
- Grain or bias placement
- Common loss
- Cutting the wrong or duplicate panel
04 / Field notes
Details that change the route
The official description says grain and bias placement can change the final dress, so do not blindly pack all pieces in the smallest rectangle.
Community guides recommend avoiding final trimming until certain, because fabric can be recovered only while the cut piece remains reusable.
Community quality testing reports that an unmeasured or missing panel can count as zero toward grain quality, so check every required piece before finishing.
Keep enough margin to rotate a curved or flared panel if the first arrangement creates an awkward fold.
05 / Continue
Related entities and guides
Sketchbook
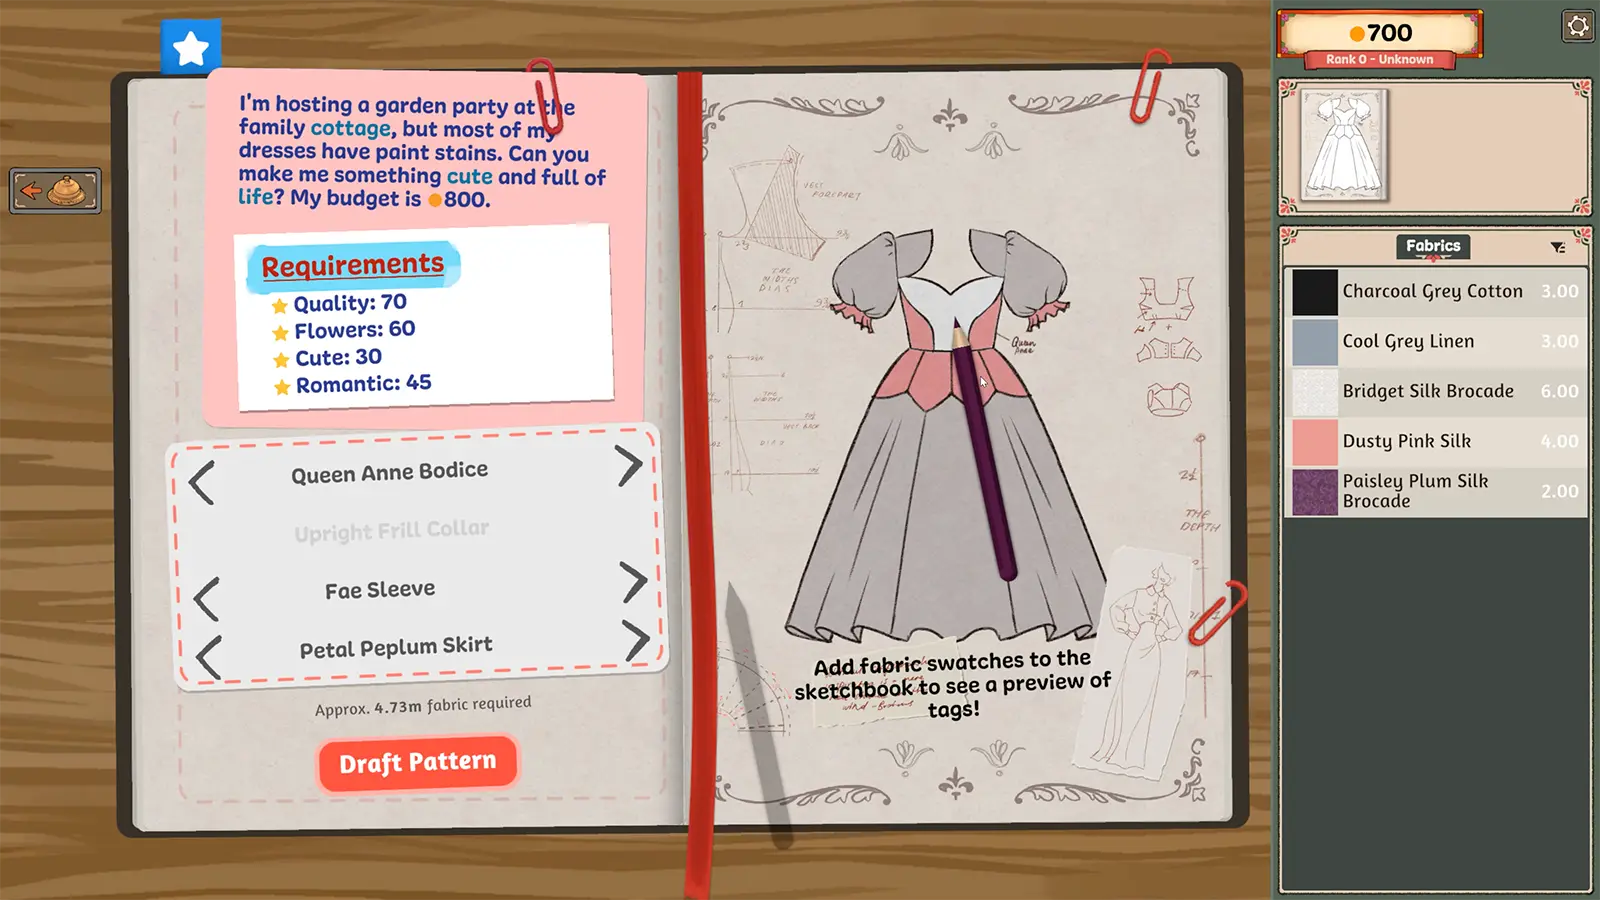
The sketchbook is the commission planning screen: choose garment pieces, preview material tags, compare the design against the request, and draft the pattern.
Open player answer ->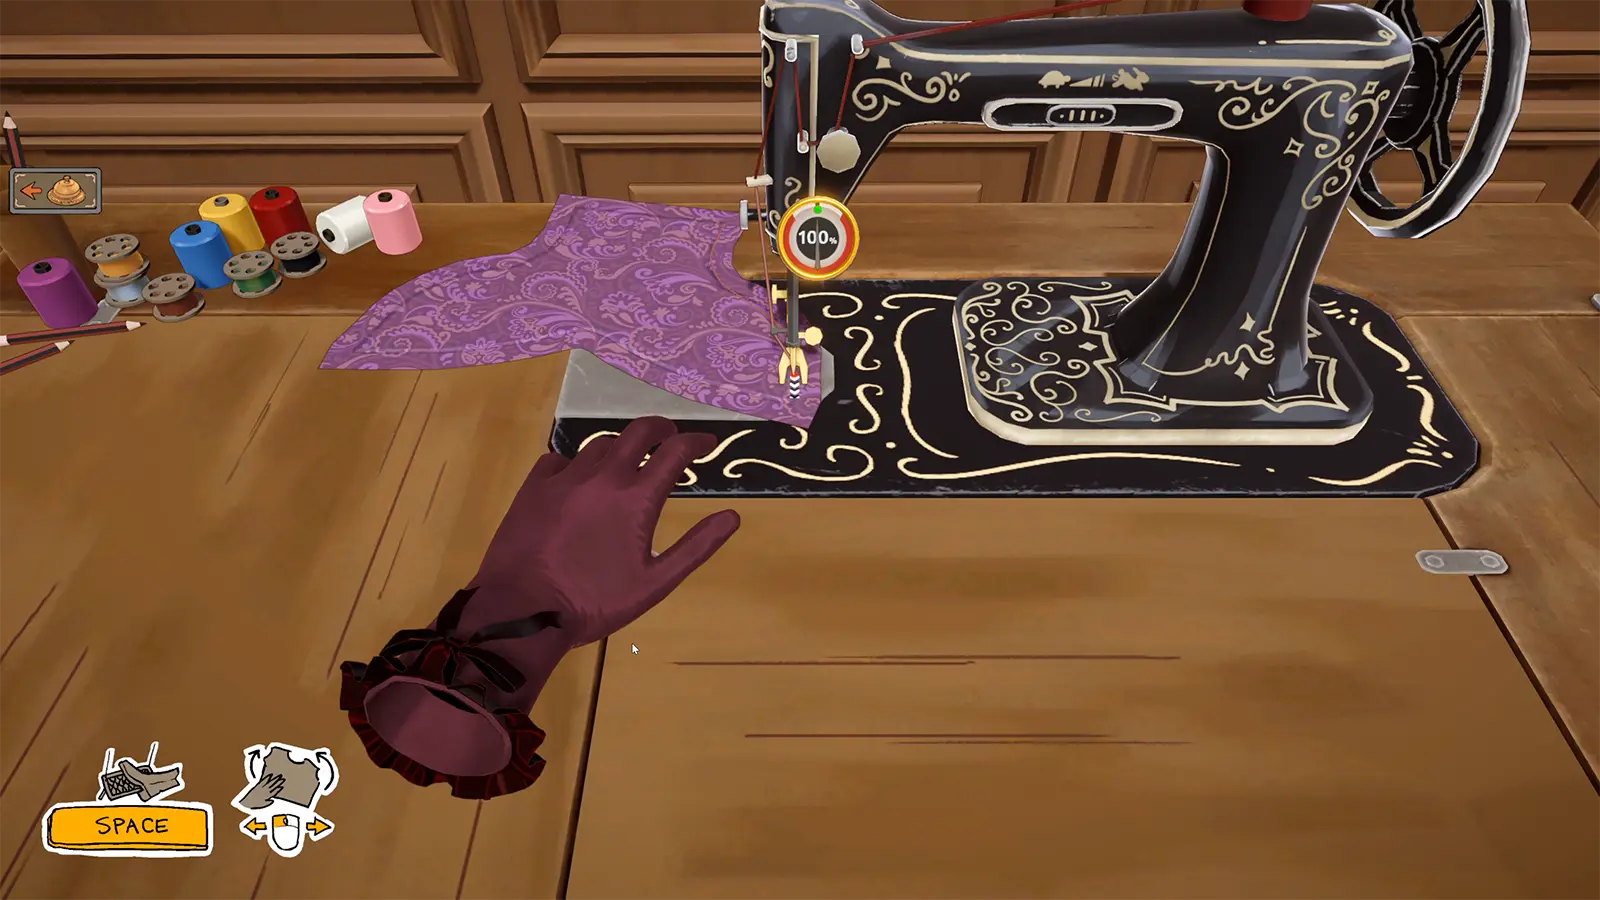
Sewing Machine
The sewing machine converts cut panels into a garment. Keeping the needle near the marked seam builds the quality score used by commissions and achievements.
Open player answer ->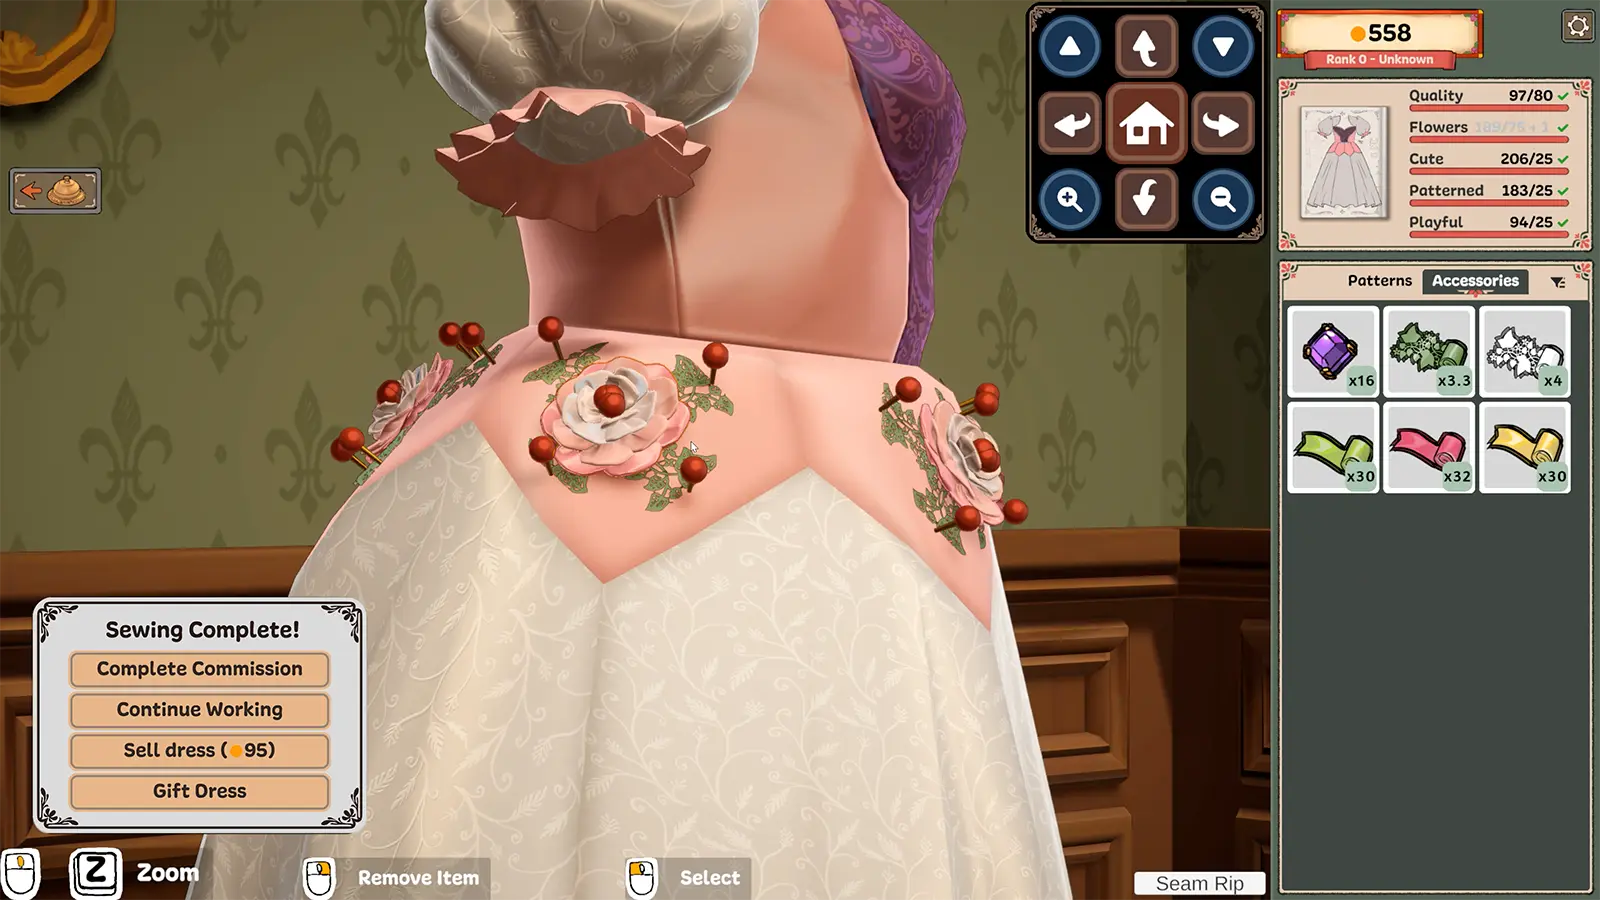
Quality Score
Quality is a scored requirement shown beside the style tags. Style tags prove the requested aesthetic; quality tracks how cleanly the garment was built.
Open player answer ->